




Grabbin Halloween
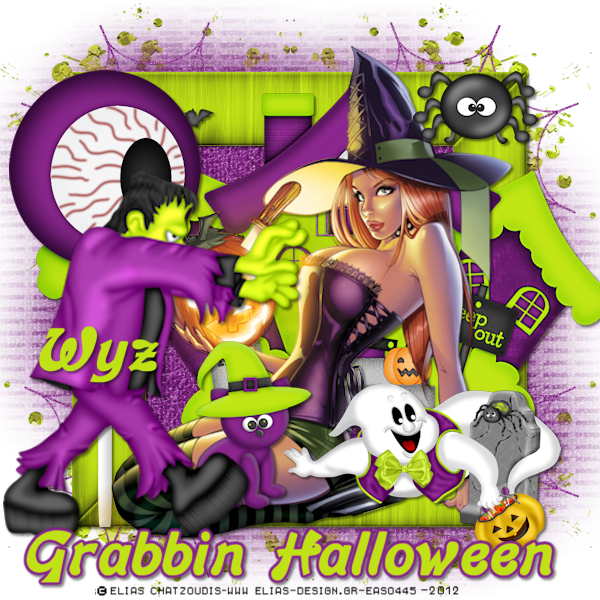
This tutorial was written for those with working knowledge of PSP
Supplies needed:
PSPX2 any version will work
Tube of choice :
I used Elias Chatzoudis you can purchase from:
Elias Chadzoudis PSP Tubes HERE
PSPX2 any version will work
Tube of choice :
I used Elias Chatzoudis you can purchase from:
Elias Chadzoudis PSP Tubes HERE
Scrapkit:
Witch Poo- PTU By:LK Designs you can purchase from:
Scrap-A-Licious HERE
Mask of choice
Font of Choice:
Drop shadow of choice:
Let's get started:
1
In psp open a new image 600 by 600 transparent layer
2
From the kit copy and paste a paper of choice apply your mask of choice merge group
3
Copy and paste frane4 with magic wand click inside frame
selection modify expand by 3 copy and paste a paper of choice
selection invert delete select none move under the frame
4
Copy and paste spookyshack resize 90%
5
Copy and paste your tube of choice resize if needed
6
Copy and paste candy5
7
Copy and paste Frankenstein image mirror image resize 70%
8
Copy and paste withcat image resize 40% image Mirror
9
Copy and paste ghost3 resize 59%
10
Copy and paste spider resize 45%
11
From the kit copy and paste any other elements of choice
see my tag as reference
12
Add your name and copyright
13
Save as a png
ALL DONE
Tuesday, August 28, 2012
Halloween

This tutorial was written for those with working knowledge of PSP
Supplies needed:
PSPX2 any version will work
Tube of choice :
I used Elias Chatzoudis you can purchase from:
Elias Chadzoudis PSP Tubes
PSPX2 any version will work
Tube of choice :
I used Elias Chatzoudis you can purchase from:
Elias Chadzoudis PSP Tubes
Scrapkit:
Halloween- PTU By:Denise Creationz you can purchase from:
Scrap-A-Licious HERE
Font of Choice:
Drop shadow of choice:
Let's get started:
1
In psp open a new image 600 by 600 white background
2
Copy and paste E9 image resize 85% with pick tool stretch to the top and bottom
3
Copy and paste EL54 resize 80% move toward the top
4
Copy and paste EL3 resize 80% move on top of leaves
5
Copy and paste EL3 resize 65% place at the top left duplicate image mirror
6
Copy and paste your tube to the right side resize if needed
7
from the kit copy and paste any other elements of choice see my tag as reference
8
Add your name and copyright
9
Click on your tube with freehand selection tool go around the cauldron and the fire
than go to eye candy 400 hsb noise apply these settings:

click ok than select none copy merged paste into animation shop
10
Back in psp click undo button 2 times apply same setting but this time click the random button once select none copy merged paste into animation shop after current layer
11
Make in psp click the undo2 times apply the same settings but click the random button again select none copy merged paste in animation after last frame
12
Still in animation shop edit select all animation select frame properties change to 20
13
Save as a gif
ALL DONE
Monday, August 27, 2012
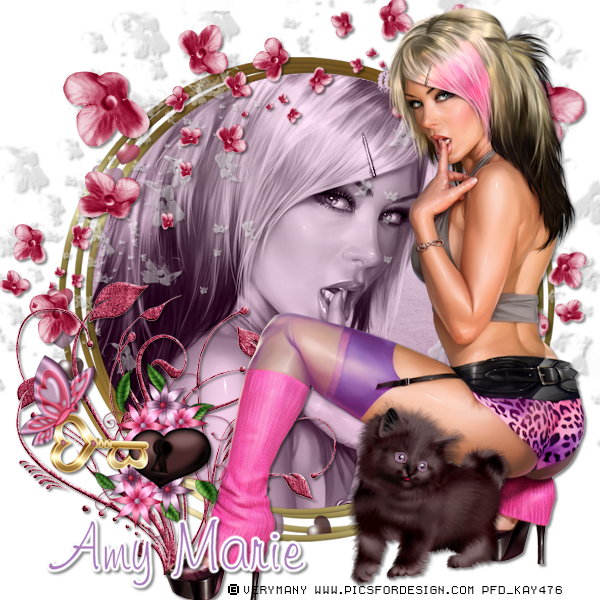
Sweet Love
This tutorial was written for those with working knowledge of PSP
Supplies needed:
PSPX2 any version will work
Tube of choice :
I used VertMany you can purchase from:
PSPX2 any version will work
Tube of choice :
I used VertMany you can purchase from:
PicsForDesign HERE
Scrapkit:
Sweet Sunday Love- PTU By:Amy Marie you can purchase from:
Amy Marie Blog HERE
Font of Choice:
Drop shadow of choice:
Let's get started:
1
In psp open a new image 600 by 600 transparent background
2
From the kit copy and paste frame4 image resize 80%
with magic wand cjick inside frame selection modify expand by2
selection invert delete copy and paste your tube of choice resize if needed
position on left side delete select none move both under the frame
3
Copy and paste your tube again position on the right side resize if needed
4
Copy and paste kitten image resize 50% position by tag
5
Copy and paste d2 image resize 80% position at bottom left
6
Copy and paste love lock image resize 50% see my tag as position
7
Copy and paste 8 image resize 80% duplicate image mirror see my tas as reference
8
Add your name and copyright
9
Save as a png
ALL DONE
Saturday, August 25, 2012
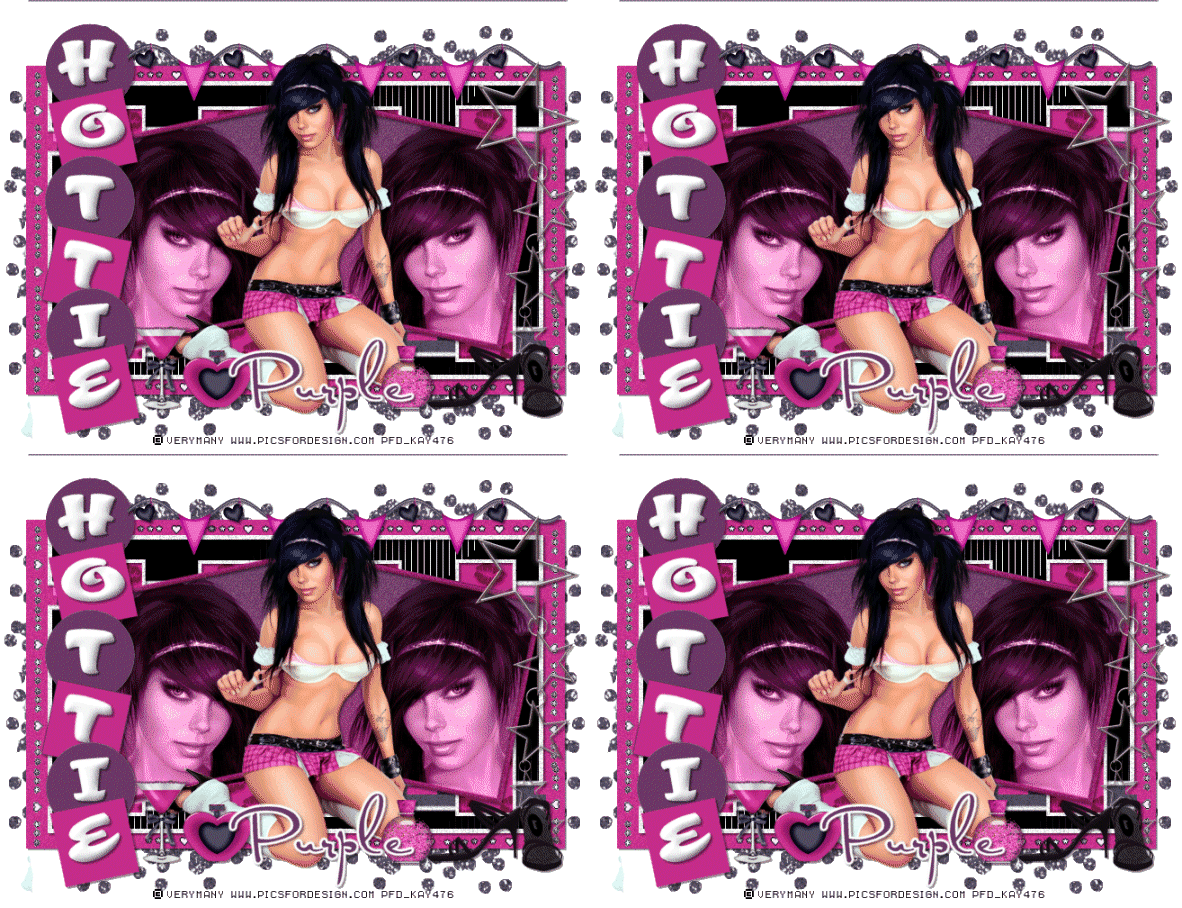
Hottie
This tutorial was written for those with working knowledge of PSP
Supplies needed:
PSPX2 any version will work
Tube of choice :
I used VeryMany you can purchase from:
PSPX2 any version will work
Tube of choice :
I used VeryMany you can purchase from:
PicsForDesign HERE
Scrapkit:
Hot Girl- PTU By:Purple Kreationz you can purchase
Scrap-A-Licious HERE
Template:
KarmaTemp HERE
My Supplies HERE
Font of Choice:
Drop shadow of choice:
Let's get started:
1
In psp open the template image resize 90%
delete
credits
karma
karma2
2
Click on back rectangle selection select all float defloat
from the kit copy and paste a paper of choice selection invert delete
select bone delete the original
3
Click on rectangle1 do the same as in #2
4
Click on left square selection select all float defloat
copy and paste a paper of choice selection invert delete
copy and paste your tube of choice delete select none delete the original layer
on the tube layer change to luminanceL
5
Click on left square frame do the same as in #2
6
Click on right square do the same as in #4
7
Click on right square frame do the same as in #2
8
On each on the small squares and circles resize 90% than click on the lower square
duplicate image mirror move on top and move down of bottom circle you should have 6 of them now
9
Click on upper circle selection select all float defloat copy and paste a paper of choice selection invert delete select none delete the original
10
On all the other circles and squares do the same as in #9
11
Click on the top circle add the H convert to raster layer position inside the circle
do the same to all the other squares and circles till you have the word HOTTIE
12
Copy and paste banner position at top erase the part that covers the H ans the circle
13
Copy and paste your tube of choice again position in the middle of tag
14
From the kit copy and paste any elements of choice
resize position see my tag as reference
15
Add your name and copyright
16
Click on top layer merge down keep merging down until
you get to the banner and merge it to
17
X out the merged layer for now
18
Delete the bottom white background layer
19
Click on one of the other layers and copy merged paste into animation shop
duplicate 3 times for a total of4 layers
20
From my supplies open up the hottiehearts edit select all edit copy
click back on the tag edit select all edit paste into selected frames
position to the right top side keep doing this until all the top line is done
21
Do the same to the bottom of frame
22
From my supplies open up hottie hearts right
edit select all edit copy click on the tag edit select all edit paste
to the top left side keep doing this until all the left side is done
23
From my supplies open the hottieheartsleft
do the same as in #22 but place on the left side
24
Back in psp unX the merged layer copy paste into animation shop
duplicate 3 times for a total of 4 edit select all edit copy click back on the tag
edit select all edit paste into selected frames position
25
Save as a gif
ALL DONE
Thursday, August 23, 2012
Fall Memories

This tutorial was written for those with working knowledge of PSP
Supplies needed:
PSPX2 any version will work
Tube of choice :
I used Keith Garvey you can purchase from:
PSPX2 any version will work
Tube of choice :
I used Keith Garvey you can purchase from:
Garv-Girls PSP Tubes HERE
Scrapkit:
Early Fall- PTU By:Inzpired Creationz you can purchase from:
Scraps and the City HERE
Template:
EI-Temp#19 HERE
Font of Choice:
Drop shadow of choice:
Let's get started:
1
In psp open the template image resize 90%
delete credits
2
Click on large circle selection select all float defloat from the kit
copy and paste a paper of choice selection invert delete select none delete the original
3
Click on leaf border do the same as in #2
4
Click on small circle selection select all float defloat from the kit
copy and paste a paper of choice selection invert delete copy and paste
your tube of choice delete select none delete the original small circle
5
Click on strip do the same as in #2
6
Click on the wordart do the same as in #2
7
Click on leaf2 do the same as in #2
8
Click on leaf1 do the same as in #2
9
Copy and paste your tube of choice again resize if needed
position on the right side of frame
10
From the kit copy,paste and resize any elements of choice see my tag as position
11
Add your name and copyright
12
Save as a png
ALL DONE
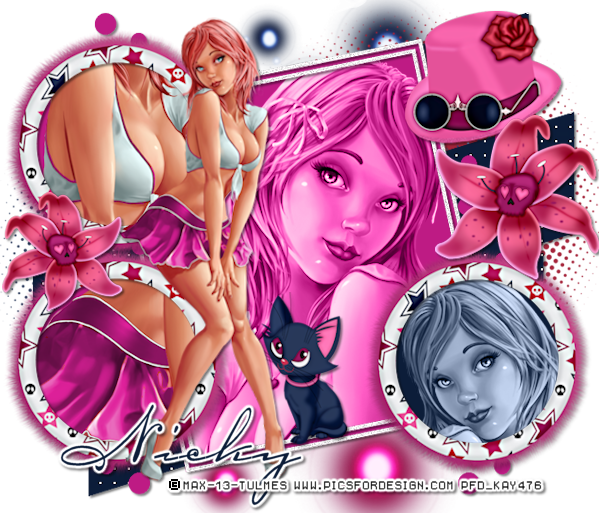
I'm Such A Cutie
This tutorial was written for those with working knowledge of PSP
Supplies needed:
PSPX2 any version will work
Tube of choice :
I used Maz-13-Tulmes you can purchase from:
PSPX2 any version will work
Tube of choice :
I used Maz-13-Tulmes you can purchase from:
PicsForDesign HERE
Scrapkit:
SteampunkEmo- PTU By:Inzpired Creationz you can purchase from:
Scraps and the City HERE
Template:
Temp_15 HERE
Font of Choice:
Drop shadow of choice:
Let's get started:
1
In psp open the template image resize 95%
delete credits and raster5
2
Click on raster2 selection select all float defloat add a new raster layer
flood fill with color of choice select none delete the original
3
Click on raster3 selection select all float defloat add a new raster
layer flood fill with color of choice copy and paste your tube of choice
resize if needed position on the right side selection invert delete
select none delete the original on the tube change to luminanceL
4
Click on raster7 do the same as in #2
5
Click on raster4 with magic wand click inside the left bottom and top circle
add a new raster layer floodfill with paper of choice selection invert
copy and paste your tube again resize if needed position inside the 2 left circles
delete select none on the tube layers change to luminanceL
6
Click back on raster4 with magic wand add a new raster layer flood fill with color of choice
selection invert copy and paste your tube again resize if needed delete
select none delete raster4 now and on tube layer change to luminanceL
7
From the kit copy and paste frame1 image resize 35% move to the bottom
right side on top of circle and tube duplicate move the left bottom
on top of circle and tube duplicate move to the top
8
Copy and paste your tube again resize if needed position on the left side
see my tag as reference
9
From the kit copy,paste and resize any other elements of choice
see my tag as reference
10
Add your name and copyright
11
Save as a png
ALL DONE
Sunday, August 19, 2012
Forever Blue
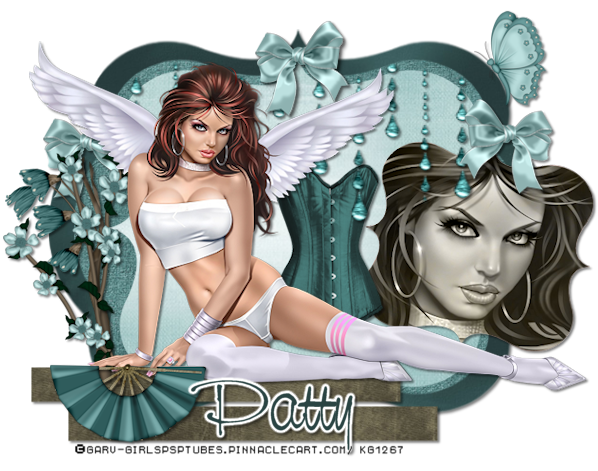
This tutorial was written for those with working knowledge of PSP
Supplies needed:
PSPX2 any version will work
Tube of choice :
I used Keith Garvey you can purchase from:
PSPX2 any version will work
Tube of choice :
I used Keith Garvey you can purchase from:
Garv Girls PSP Tubes HERE
Scrapkit:
EverBlu - By: Honored Scraps-PTU you can purchase from:
Scrap-A-Licious HERE
Template:
#37 you can download from HERE
Font of Choice:
Drop shadow of choice:
Let's get started:
1
In psp open the template image resize 95% delete the credits
2
Move rectangle1 and 2 down see my tag as reference
3
Move shape4 up a little and toward the right see my tag as reference
4
Click on shape1 selection select all float defloat from the kit
copy and paste a paper of choice selection invert delete
select none delete the original
5
Click on these layers and do the same as in #4
shape2
shape3
rectangle1
rectangle2
6
Click on shape4 selection select all float defloat from the kit
copy and paste a paper of choice selection invert delete copy and paste your tube
resize if needed delete select none on the tube change blend mode to luminanceL
delete the original
7
From the kit copy and paste corset1 resize 50% place in middle next to tube
8
Copy and paste raindrops2 resize 40% you will need to erase some of the teardrops
see my tag as reference
9
Copy and paste any other elements of choice resize and position
see my tag as reference
10
Copy and paste your tube again resize if needed position on the left side
11
Add your name and copyright
12
Delete the white background layer
13
Save as a png
ALL DONE
Saturday, August 18, 2012
Keith Garvey Girl

This tutorial was written for those with working knowledge of PSP
Supplies needed:
PSPX2 any version will work
Tube of choice :
I used Keith Garvey you can purchase from:
PSPX2 any version will work
Tube of choice :
I used Keith Garvey you can purchase from:
Garv Girls PSP Tubes HERE
Thick font of choice:
Drop shadow of choice:
Let's get started:
1
In psp open a new image 600 by 450 transparent background
2
Add your sayings of choice size of choice color from your tube
go to effects eye candy 400 add a glass effect of choice
3
Copy and paste your tube of choice position on top of words
4
Add your name and copyright
5
Click on words layer go to effects DSB Flux bright noise intensity 25 click mix1 time
copy merged paste into animation shop
6
Back in psp click undo than apply same plugin but click mix2 times
copy merged paste into animation shop after current layer
7
Back in psp click undo apply same plugin but click mix3 times
copy merged paste into animation shop after last layer
8
Save as a gif
ALL DONE
Friday, August 17, 2012
Begining of Fall
This tutorial was written for those with working knowledge of PSP
Supplies needed:
PSPX2 any version will work
Tube of choice :
I used Elias Chatzoudis you can purchase from:
PSPX2 any version will work
Tube of choice :
I used Elias Chatzoudis you can purchase from:
Elias Artshop HERE
Scrapkit:
Octobers Eve By:black Widows Creationz PTU you can purchase from:
Scrap-A-Licious HERE
My Supplies: HERE
Font of choice:
Drop shadow of choice:
Let's get started:
1
In psp open a new image 600 by 600 transparent background
2
From the kit copy and paste EL34 click inside frame with magic wand
selection modify expand by2 from the kit copy and paste a paper of choice
selection invert delete copy and paste your tube of choice resize if needed
position inside the left side of frame delete select none
move paper under frame than move tube under frame
3
Click on top frame in layer palette copy and paste any elements of choice
resize and position see my tag as reference
4
Copy and paste your tube again to the right side outside of frame
5
Add your name and copyright
6
In layer palette X out the tube layer copy merged paste into animation shop
duplicate 23 times for a total of 24
7
From my supplies open the animated leaves edit select all edit copy
click back on the original tag edit select all edit paste into selected frames
position toward top and copy and paste down a little
do this as many times as it looks good to you
8
Back in psp un X the tube copy paste into animation shop duplicate 23 times
for a total of 24 edit select all edit copy click back on the tag edit select all edit paste
into selected frame position to the right side of frame
9
Save as a gif
ALL DONE
Wednesday, August 15, 2012
Sweet Vixen

This tutorial was written for those with working knowledge of PSP
Supplies needed:
PSPX2 any version will work
Tube of choice :
I used Jamie Kidd you can purchase from:
PSPX2 any version will work
Tube of choice :
I used Jamie Kidd you can purchase from:
Creative Designs Outlet HERE
Scrapkit:
Sweet Vixen By Scraps Dimensions PTU you can purchase from:
Scrap-A-Licious HERE
Font of choice:
Drop shadow of choice:
Let's get started:
1
In psp open a new image 600 by 600 transparent background
2
From the kit copy and paste element47 image resize 70%
with magic wand click inside frame selection modify expand by 2
copy and paste a paper of choice selection invert delete copy and paste
your tube of choice resize if needed position inside the frame delete
select none move the paper under the frame than the tube under the frame
on the tube change blend mode to luminanceL
3
Click on top layer in layer palette copy and paste your tube again position
4
Add a phrase of choice I used SWEET VIXEN position at bottom of tag
move under the tube
5
From the kit copy and paste any elements of choice resize and position
see my tag as reference
6
Add your name and copyright
7
Save as a png
ALL DONE
Tuesday, August 14, 2012
Sweet Sexy Diva
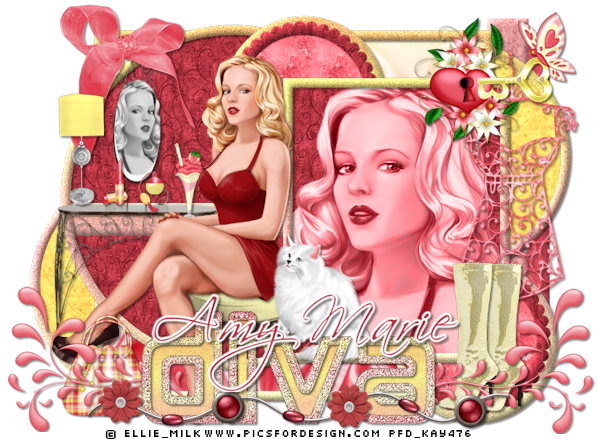
This tutorial was written for those with working knowledge of PSP
Supplies needed:
PSPX2 any version will work
Tube of choice :
I used Ellie_Milk you can purchase from:
PSPX2 any version will work
Tube of choice :
I used Ellie_Milk you can purchase from:
Pics For Design HERE
Scrapkit:
Sexy Sweet By Amy Marie PTU you can purchase from:
Amy Marie HERE
Template:
#127 from Punky Butts HERE
Font of choice:
Drop shadow of choice:
Let's get started:
1
Open the template in psp delete the credits
2
Click on strip blue selection select all float defloat from the kit
copy and paste a paper of choice selection invert
delete select none delete the original
3
Click on these layers and do the same as in #2
strip black
circle left
circle left frame
circle right
circle right frame
bottom rectangle
bottom rectangle frame
large circle
strip
large circle frame
top small circle
top small circle frame
top circle frame2
bottom small circle
bottom small circle frame
bottom small circle frame2
top rectangle
top rectangle frame
4
Click on square selection select all float defloat copy and paste a paper of choice
selection invert delete copy and paste your tube of choice resize if needed
position inside square delete select none delete the original square
and on the tube change blend mode to luminanceL
5
Click on top layer in layer palette copy and paste #4 image resize 70%
position on left side with magic wand click inside the mirror
you may have to click several times copy and paste your tube image resize
place the face inside the mirror select none go to adjust hue and saturation change both to "0"
6
Copy and paste stool image resize 30% move off to the right side of table
7
Copy and paste your tube resize if needed position her sitting on the stool
8
Copy and paste the word diva image resize 65% place at bottom of tag
with magic wand click inside each letter selection modify expand by2
copy and paste a paper of choice selection invert delete
select none move under the word
9
From the kit copy and paste any elements of choice
resize position see my tag as reference
10
Add your name and copyright
11
Image resize all layers checked 85%
12
Save as a png
ALL DONE
Monday, August 13, 2012
Memories

This tutorial was written for those with working knowledge of PSP
Supplies needed:
PSPX2 any version will work
Tube of choice :
I used Jamie Kidd you can purchase from:
PSPX2 any version will work
Tube of choice :
I used Jamie Kidd you can purchase from:
Creative Designs Outlet HERE
Scrapkit:
In Dreams Tagger By Honored Scraps PTU you can purchase from:
Scrap-A-Licious HERE
Template:
EI_#11 from HERE
Font of choice:
Drop shadow of choice:
Let's get started:
1
Open the template in psp delete the credits
2
Click on mask layer1 selection select all float defloat from the kit
copy and paste a paper of choice selection invert delete select none
on the original lower the opacity to 53
3
Click on large circle selection select all float defloar from the kit
copy and paste a paper of choice selection invert delete select none delete the original
4
Click on medium circle do the same as in #3
5
From the kit copy and paste flower swag1 image rotate 90 degrees to the left
image resize 55% position on the right side
6
Click on mask layer2 do the same as in #3 but leave the original also
7
Click on tree do the same as in #3 move the tree slightly over to the left side
8
Click on small circle do the same as in #3 than image mirror
9
Click on smaller circle do the same as in #8
10
From the kit copy and paste ribbon heart1 image resize 40%
see my tag as placement lower the opacity to 55%
11
Click on fluer1 do the same as in #3
12
Click on fluer2 do the same as in #3
13
Copy and paste your tube of choice resize if needed
position on left side see my tag as placement
14
From the kit copy and paste any other elements of choice
resize see my tag as reference
15
Add your name and copyright
16
Delete the bottom white layer
17
Save as a png
ALL DONE
Sunday, August 12, 2012
eMoLiCiouS
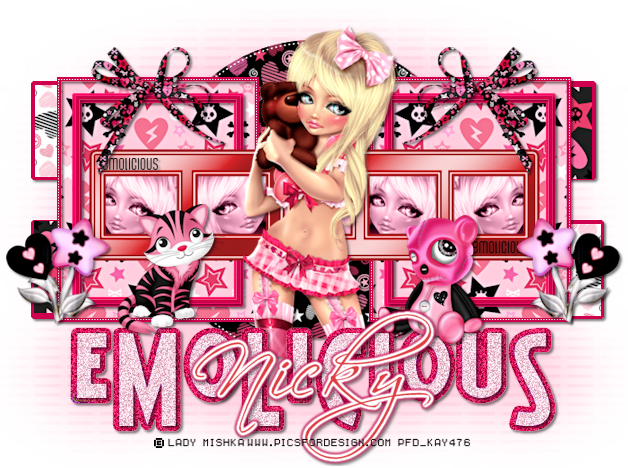
This tutorial was written for those with working knowledge of PSP
Supplies needed:
PSPX2 any version will work
Tube of choice :
I used Lady Mishka you can purchase from:
PSPX2 any version will work
Tube of choice :
I used Lady Mishka you can purchase from:
Pic For Design HERE
Scrapkit:
Pink'k Emo By Nicky of Inzpired Creatioz PTU you can purchase from:
Scraps and the City HERE
Template:
#105 from Punky Butts HERE
Mask of choice
Font of choice:
Drop shadow of choice:
Let's get started:
1
Open the template in psp delete the credits
2
Click on background layer floodfill with color are paper of choice
add your mask of choice merge group
3
Click on circle selection select all float defloat from the kit copy and paste a paper of choice
selection invert delete select none delete the original layer
4
Click on black bottom squares with magic wand click on left side copy and paste a paper of choice image resize 50% selection invert delete than go to selection modify expand by4 copy and paste a new layer floodfill with color of choice select none move under the paper
5
Do the same to the right side as you did in #4
6
Click on top left squares do the same as in #4 and #5
7
Click on left rectangle do the same as in #3
8
Click on right rectangle do the same as #3
9
Click on left purple frame click on the foreground pick a color of choice
than click on change to target brush and colorize the frame
10
Click on right rectangle do the same as in #3
11
Click on right purple frame do the same as in #9
12
Click on left green frame do the same as in #9
13
Click on right green frame do the same as #9
14
Click on left purple frame2 do the same as in #9
15
Click on right purple frame do the same as #9
16
Click on film backing with magic wand add a new raster layer floodfill
with color of choice select none delete the original
17
Still on film backing layer you flood filled with color click on the left square with magic wand copy and paste your tube of choice resize if needed selection invert delete select none do this to the other 3 squares not the middle square merge down all the tubes together than apply blend mode luminanceL
18
Click on film strip do the same as #9
19
Copy and paste your tube of choice resize if needed place in middle of tag
20
Click on wordart glitz and do the same as in #9
21
Click on wordart selection select all float defloat add a new layer
flood fill with color of choice select none add a noise of choice
22
From the kit copy, paste and resize any elements of choice
see my tag as reference
23
Add your name and copyright
24
Save as a png
ALL DONE
Saturday, August 11, 2012
Color Me Emo
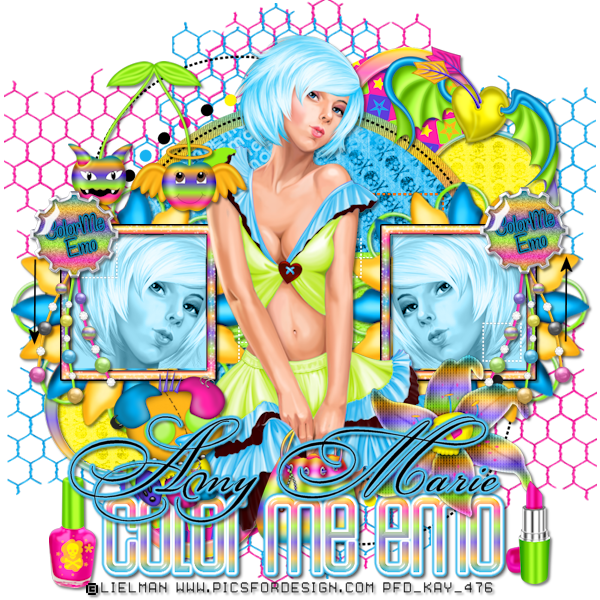
This tutorial was written for those with working knowledge of PSP
Supplies needed:
PSPX2 any version will work
Tube of choice :
I used Lielman you can purchase from:
PSPX2 any version will work
Tube of choice :
I used Lielman you can purchase from:
Pic For Design HERE
Scrapkit:
Color Me Emo By Amy Marie PTU you can purchase from:
Diva By Marie HERE
Template:
EI_Template#111 HERE
Font of choice:
Drop shadow of choice:
Let's get started:
1
Open the template in psp delete the credits and black lines
2
Click on black circle2 selection select all float defloat from the kit
copy and paste a paper of choice selection invert delete select none delete the original
3
Click on black circle1 do the same as in #2
4
Click on grey circle2 do the same as in #2
5
Click on grey circle1 do the same as in #2
6
From the kit copy and paste frame4 image resize 50% position over top
of black circle1 and grey circle1duplicate image mirror image flip
7
Click on orange circle do the same as in #2
8
Click on white circle do the same as in #2
9
Click on orange rectangle do the same as in 32
10
Click on black boxes do the same as in #2
11
With magic wand click on the rectangle copy and paste your tube of choice
resize if needed position in first rectangle selection invert delete select none
12
Do the same to the other side of rectangle
13
Click on top of first tube rectangle and copy and paste frame1
image resize 30% duplicate image mirror
14
Click under first tube rectangle paper and copy and paste
flower3 image resize 70% duplicate image mirror
15
From the kit copy paste and resize any elements of choice
see my tag as reference
16
From the kit open up wordAM1 with selection tool draw over the first
COLOR ME EMO copy and paste onto your tag
move to bottom of tag
17
Add your name and copyright
18
Save as a png
ALL DONE
Friday, August 10, 2012
One Night of Love

This tutorial was written for those with working knowledge of PSP
Supplies needed:
PSPX2 any version will work
Tube of choice :
I used Alex Prihodko you can purchase from:
PSPX2 any version will work
Tube of choice :
I used Alex Prihodko you can purchase from:
Pics For Design HERE
Scrapkit:
One Night By:Amy Marie and Kimberly PTU you can purchase from:
Amy Marie's kits HERE
My supplies HERE
Font of choice:
Drop shadow of choice:
Let's get started:
1
In psp open a new image 650 by 550 transparent background
2
From the kit copy and paste frame5 with magic wand click inside frame
selection modify expand by3copy and paste a paper of choice
selection invert delete select none move under the frame
3
Click on top frame layer copy and paste chair2
image resize 60% place on right side
4
Copy and paste your tube of choice resize if needed
place like she is sitting on chair
5
Copy and paste table resize 40% place next to tube and chair
6
Copy and paste wine glass image resize 20% place in center of table
7
Copy and paste champagne bottle resize 30% place to the left side of glass
8
Copy and paste lipstick resize 15% place to right side of glass
9
Copy and paste gem curtain2 resize 60% move under frame
and move to top of frame
10
Click back on top frame in layer palette copy and paste love beads
75% position at top of frame
11
Copy and paste camisole image resize 50% place at top left side
12
Copy and place candle resize 25% place at bottom left
13
Copy and paste these elements and place see my tag as reference:
bottles1 resize 35%
shoe2 resize 15%
shoe1 resize 15%
camilla2 resize 30% duplicate image flip
bow5 resize 50%
#26 resize 35%
camilli1 resize 30% duplicate image flip
bow4 resize 50%
#27 resize 35%
flower3 resize 30% duplicate image mirror duplicate
image flip duplicate image mirror
14
Click on bottom layer copy and paste #3 resize 85%
move to right side so some is showing out of the side see my tag as reference
duplicate image mirror duplicate move to top center duplicate image flip
15
Add your name and copyright
16
Copy merged paste into animation shop duplicate 15 times for a total of 16
17
From my supplies open up flamelove edit select all edit copy
click back on the tag edit select all edit paste into selected frames
position on top of candle
18
From my supplies open bubbleslove edit select all edit copy
click back on tag edit select all edit paste into selected frames
position on top of glass
19
Animation resize 95%
20
Save as a png
ALL DONE